B Flash
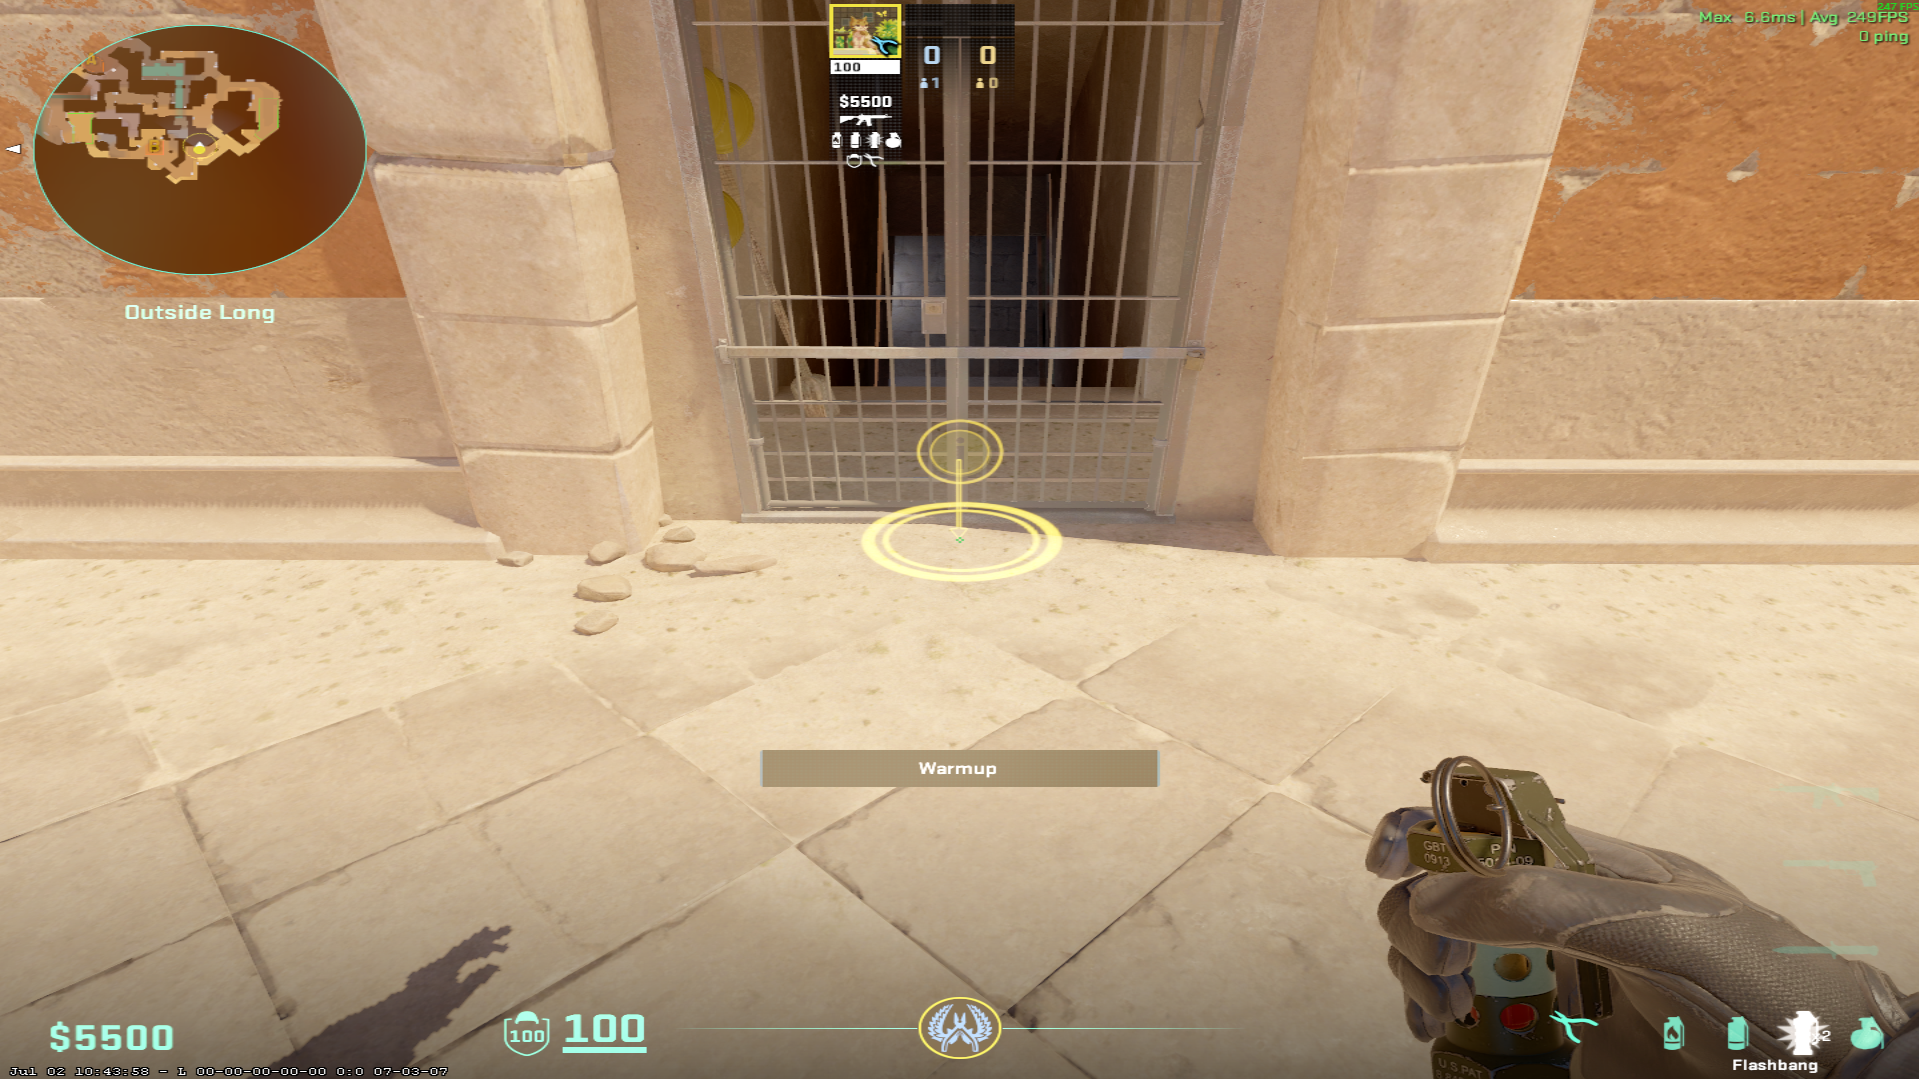
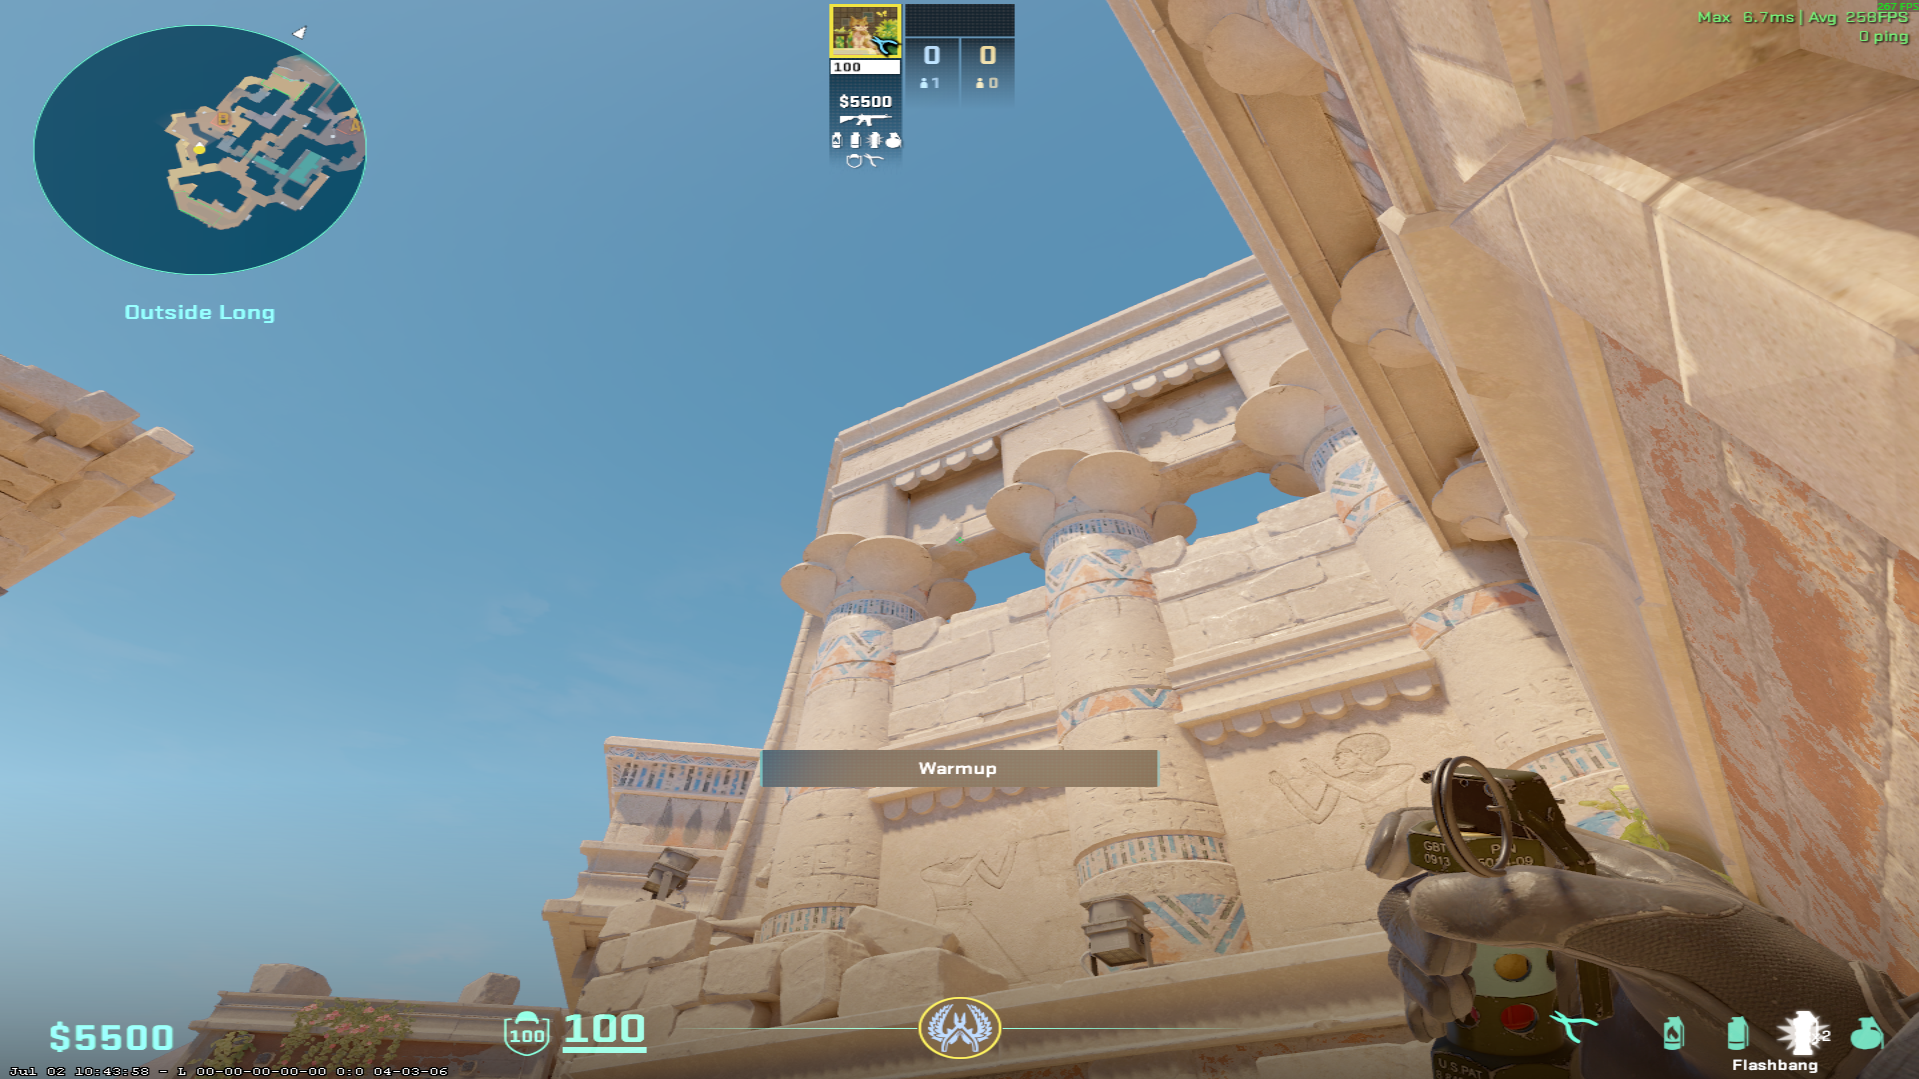
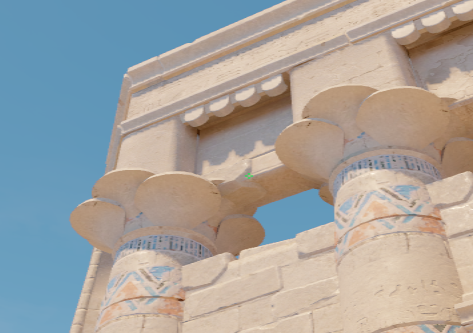
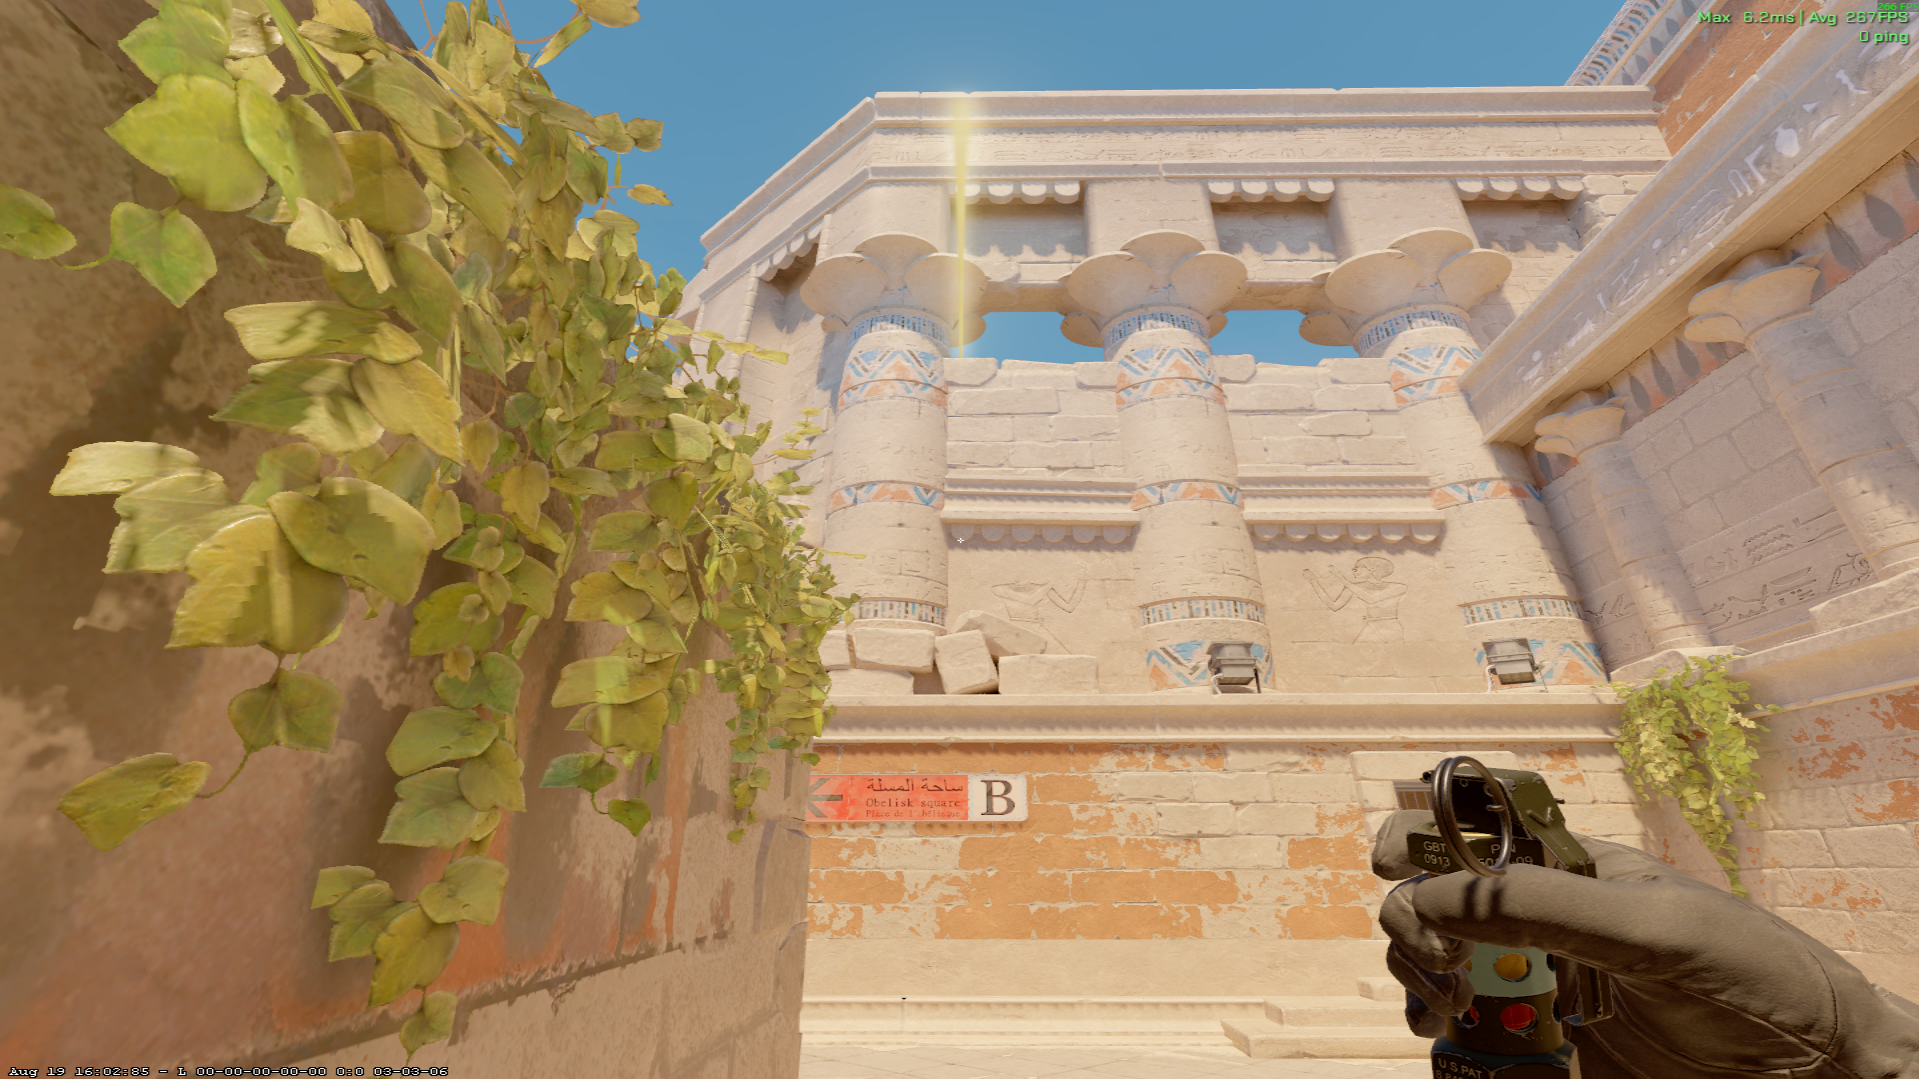
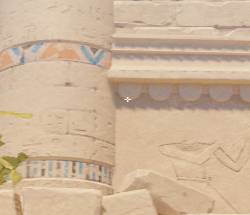
Anubis · Flash · 3 throws — official Lineupr lineup with screenshots and technique for each throw.
Open in interactive mapThrow 1 of 3
- Movement: Standing
- Range: Throw
Throw 2 of 3
- Movement: Standing
- Range: Throw
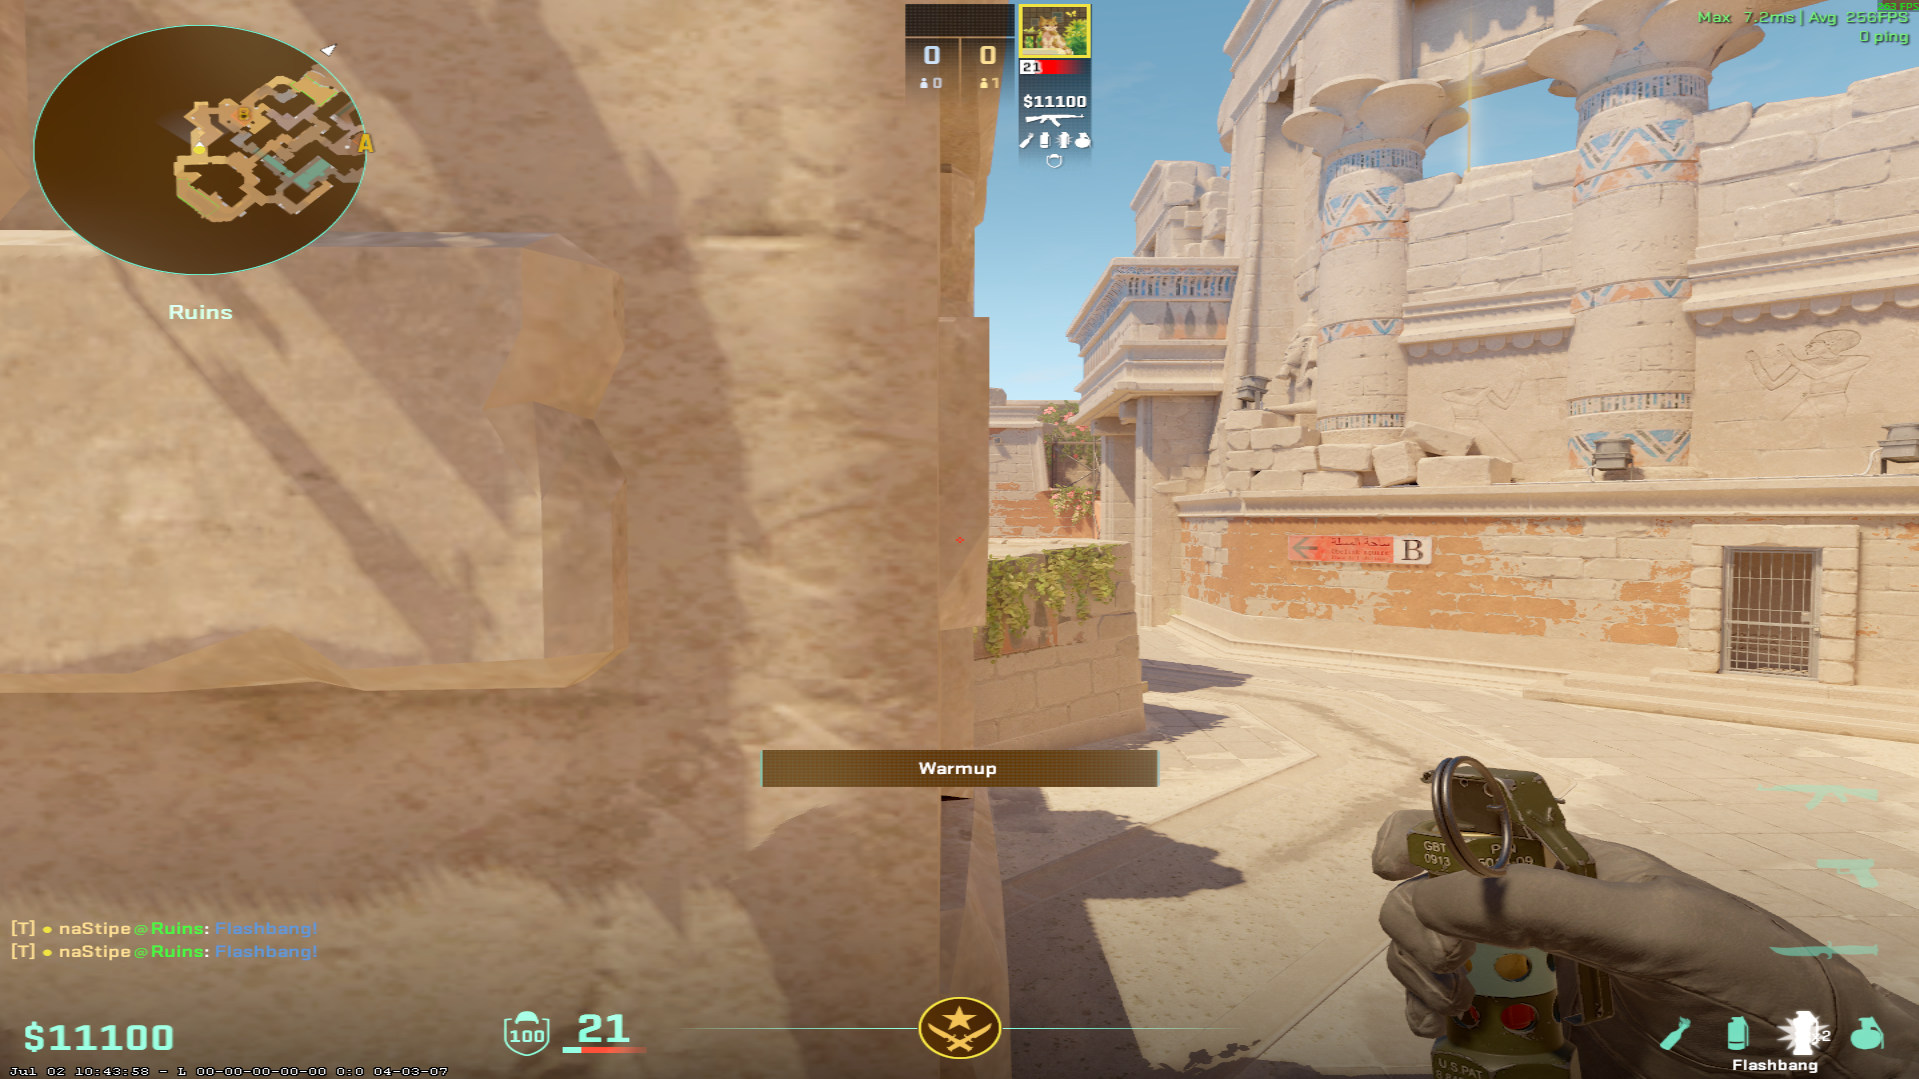
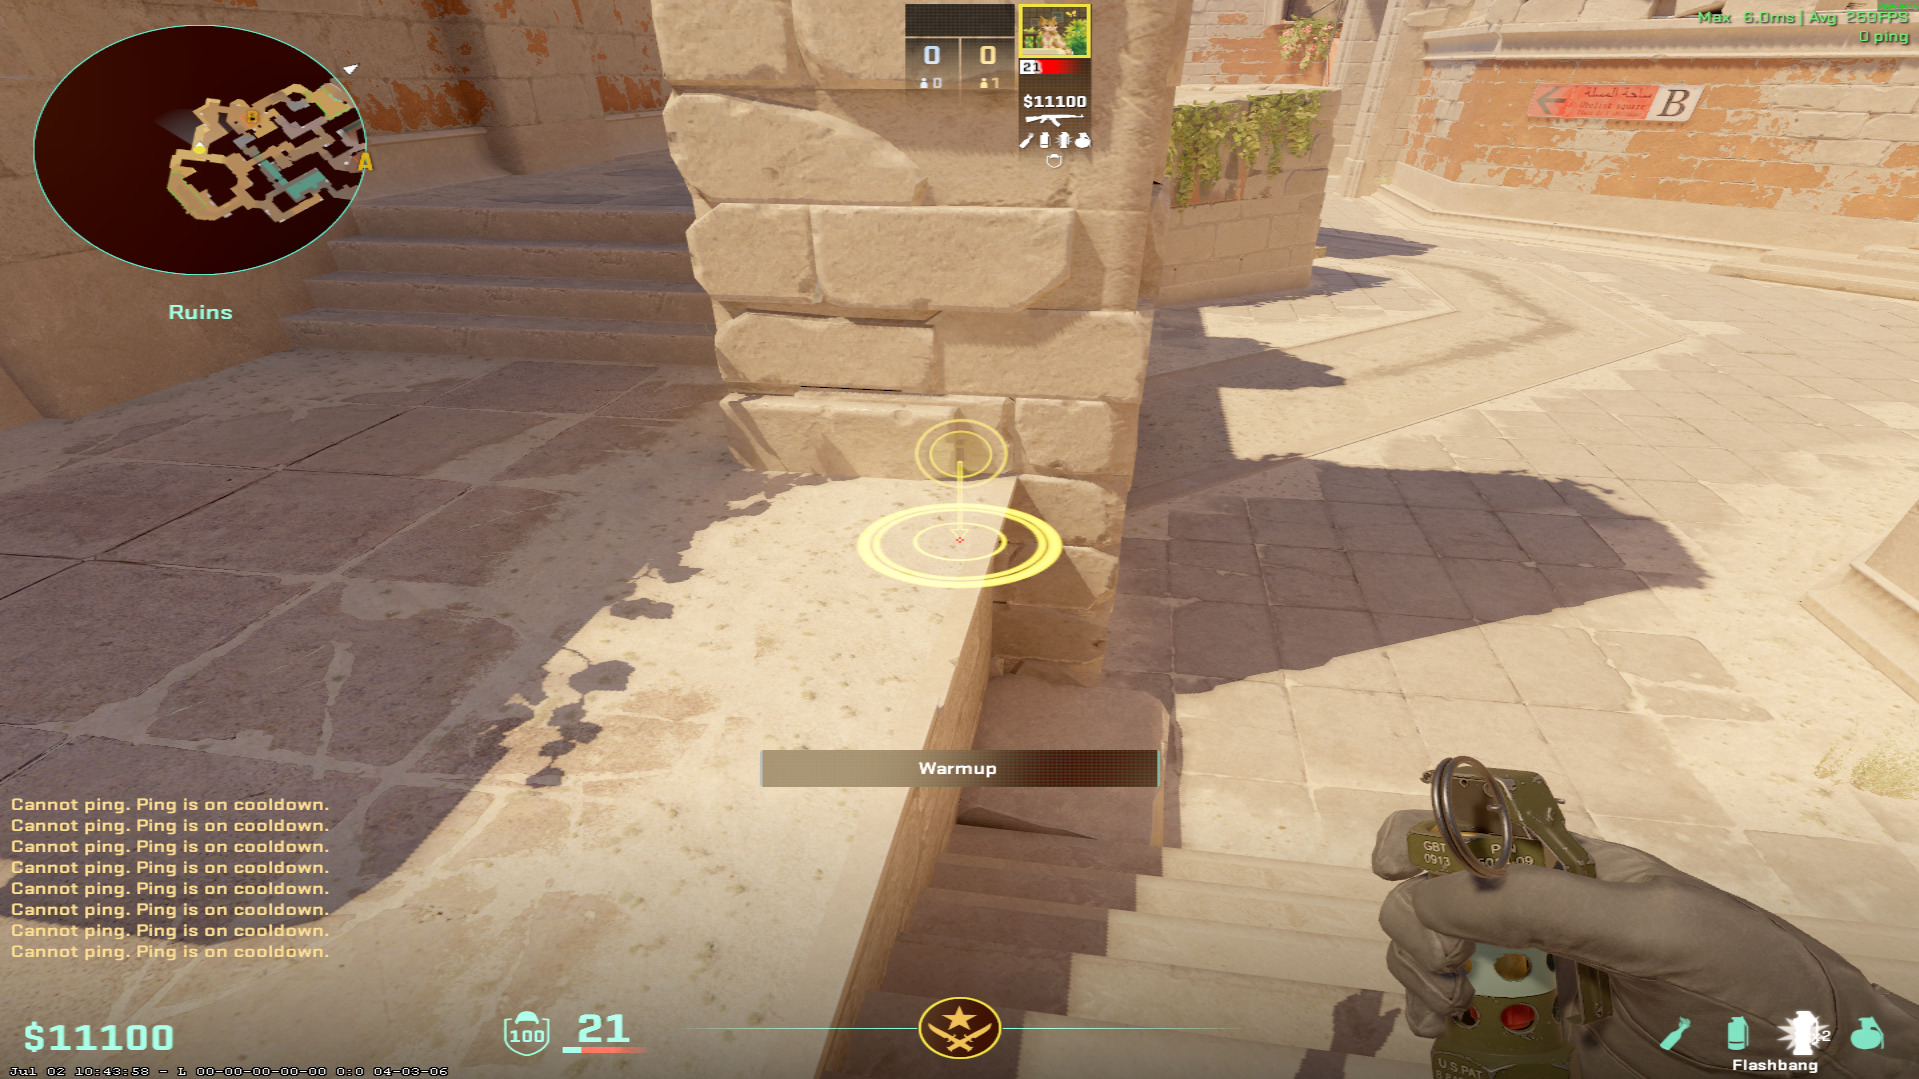
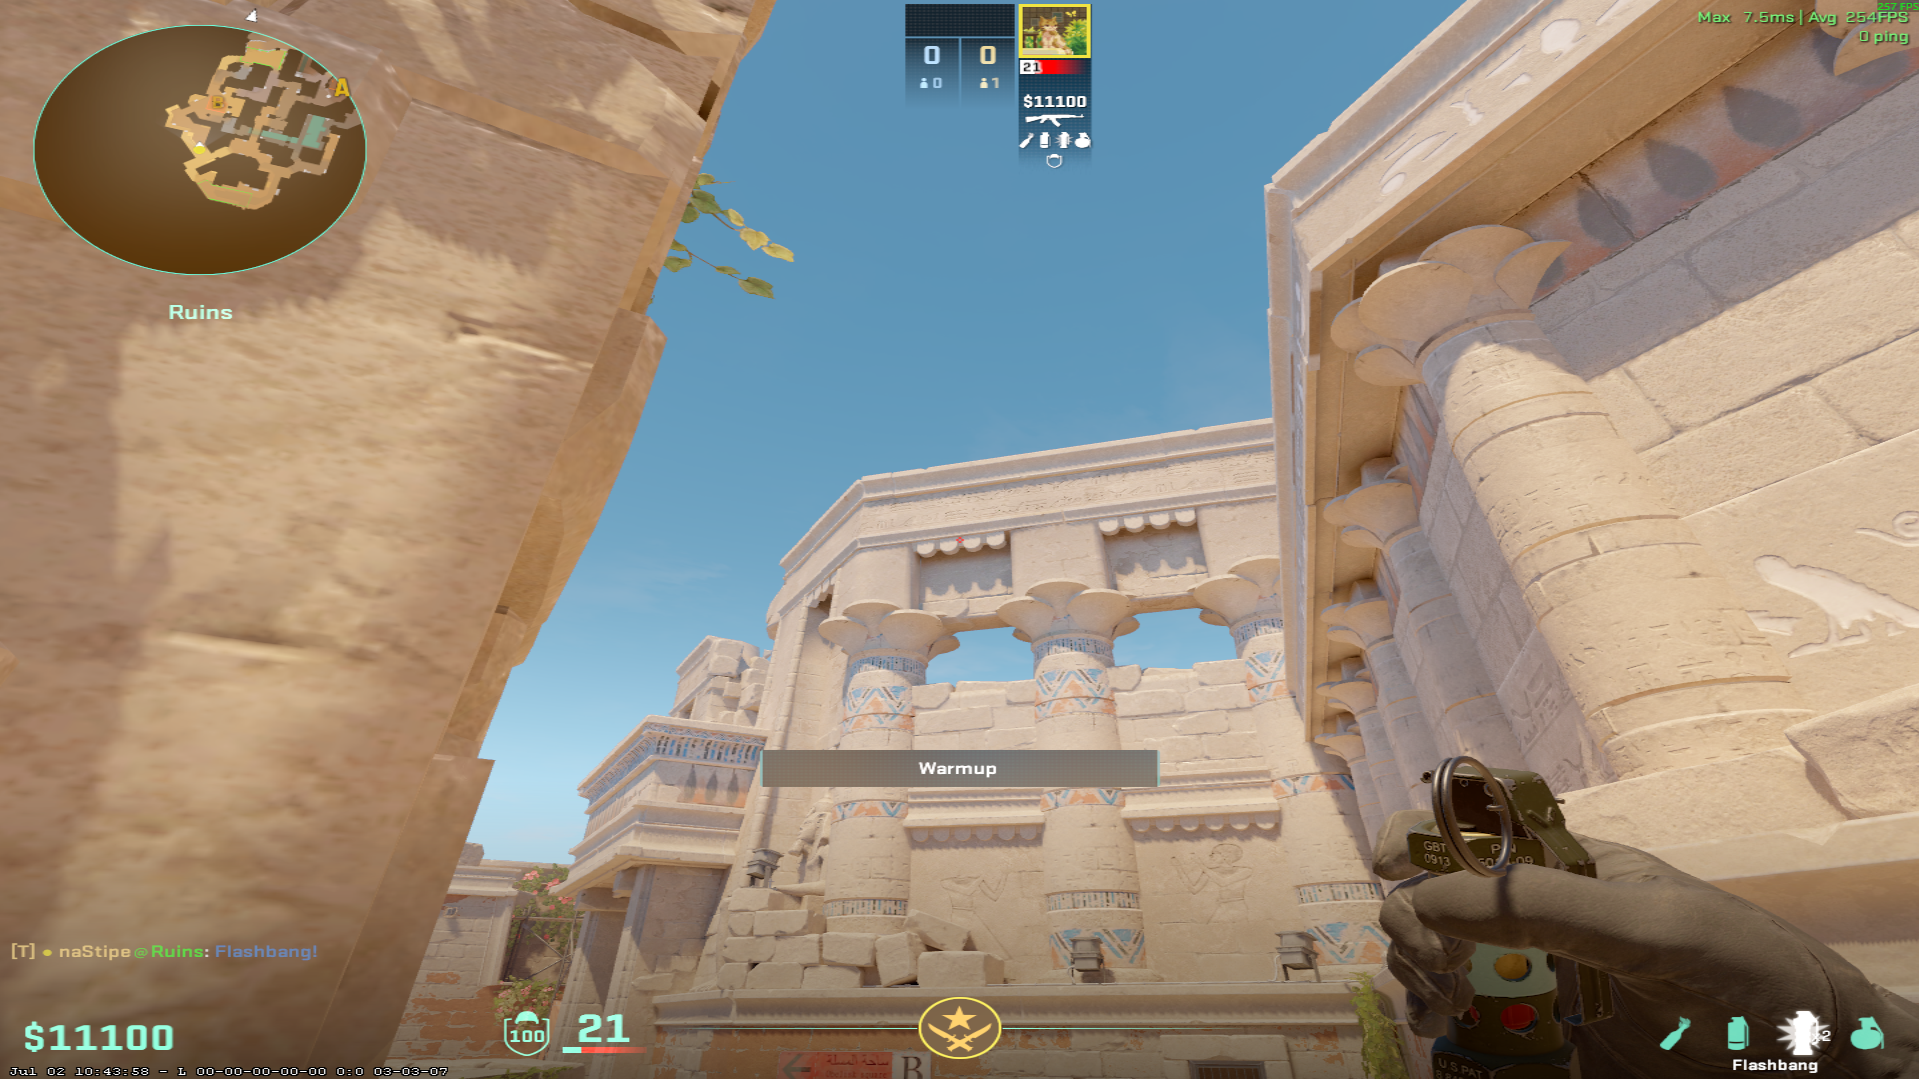
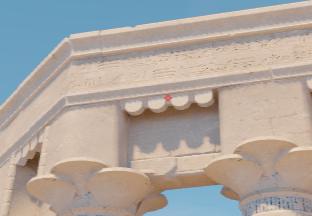
Throw 3 of 3
- Movement: Jumpthrow
- Range: Mid-throw
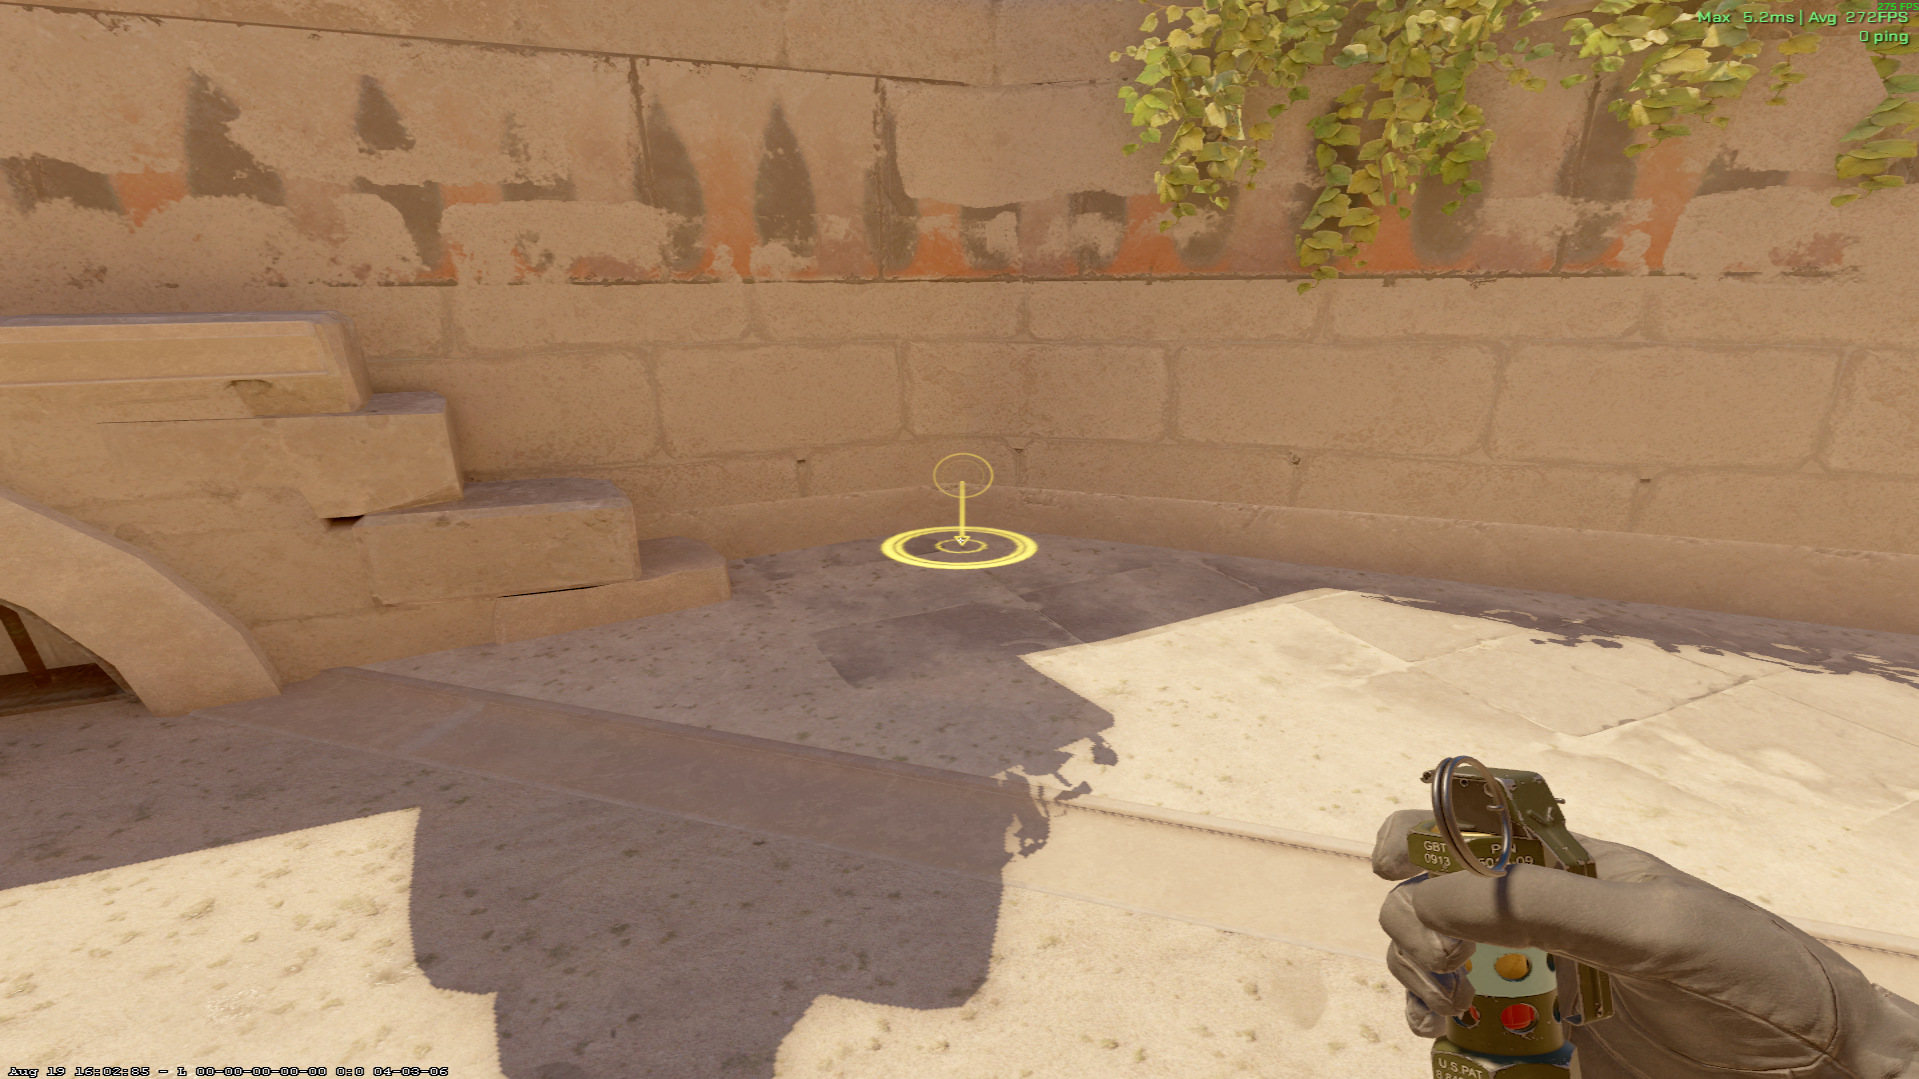
More Anubis lineups
- A Site FlashFlash
- B Main Pop FlashFlash
- Mid Pop FlashFlash
- Water Flash from ConnectorFlash
- Window SmokeSmoke
- Heaven SmokeSmoke