lineupr

Banana Pop Flash

Inferno · Flash · 3 throws — official Lineupr lineup with screenshots and technique for each throw.

Open in interactive map

Throw 1 of 3

  • Movement: Jumpthrow
  • Range: Throw
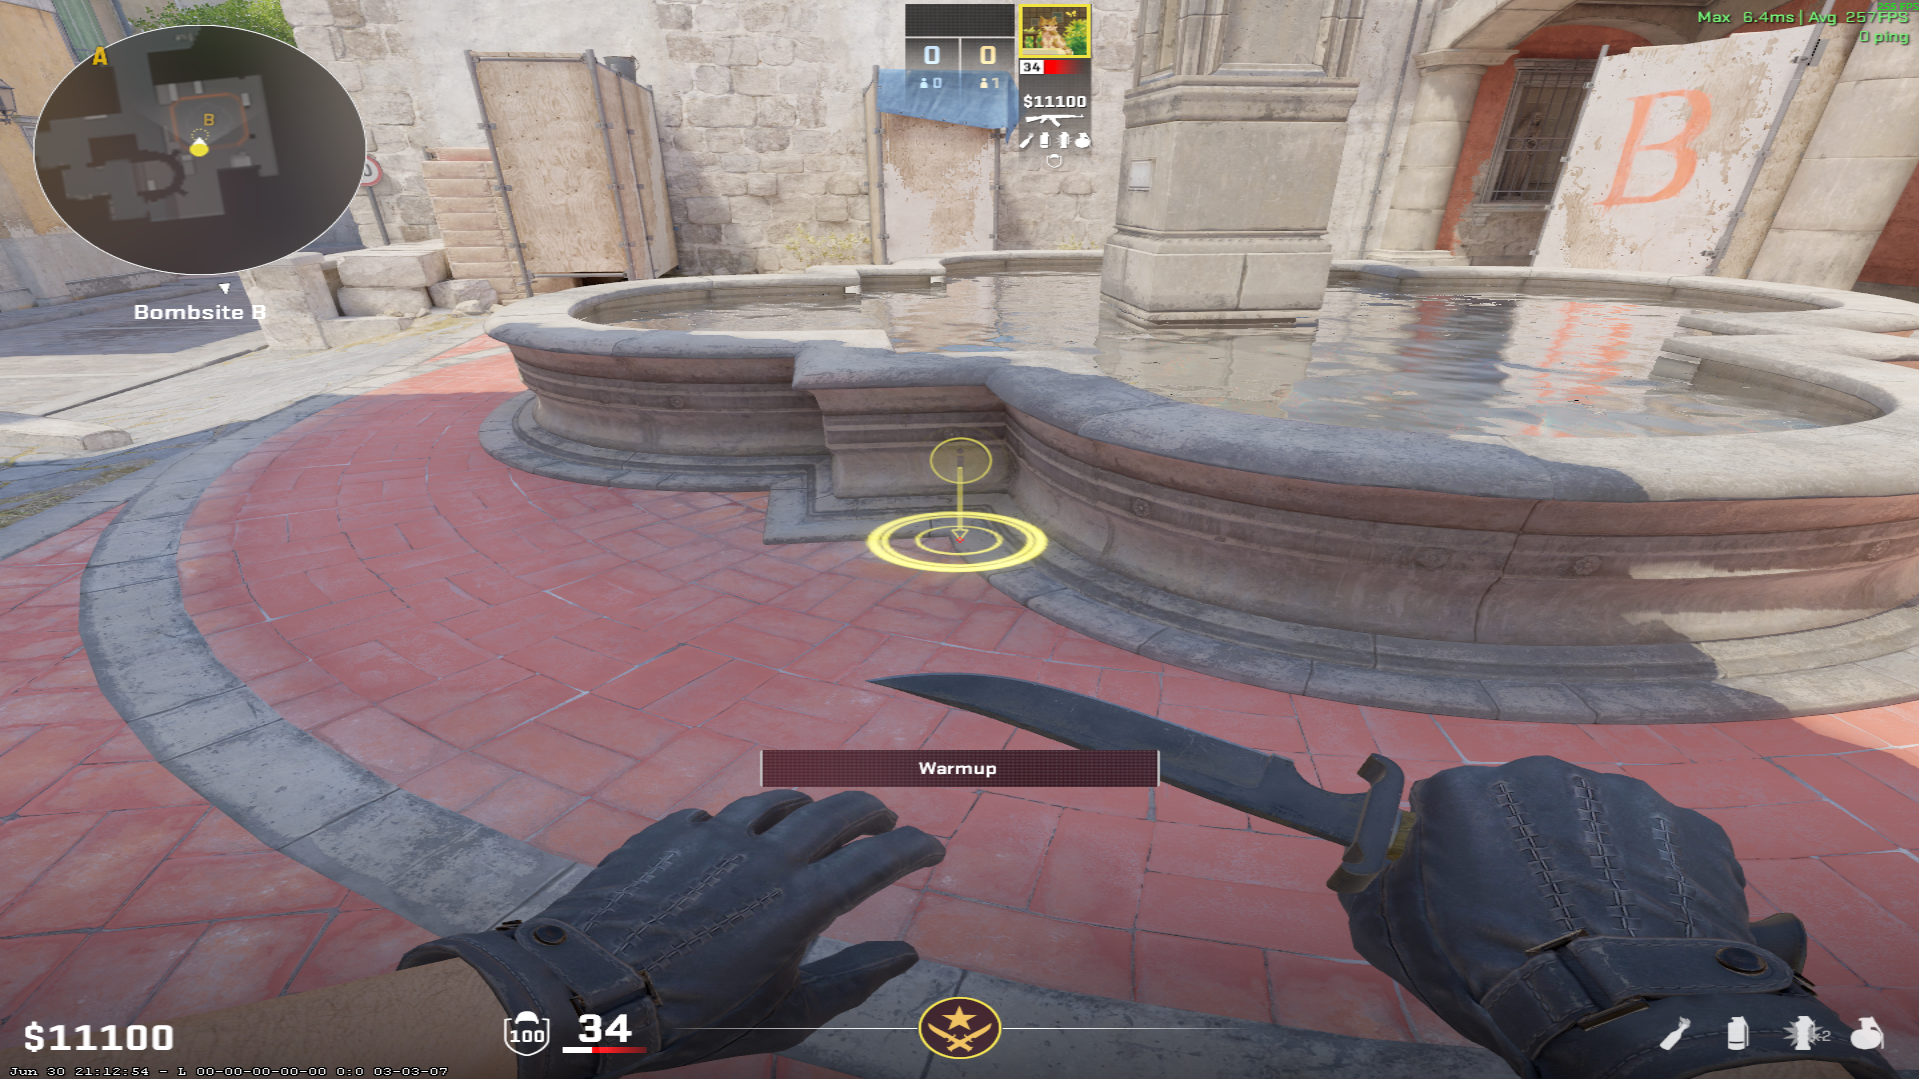
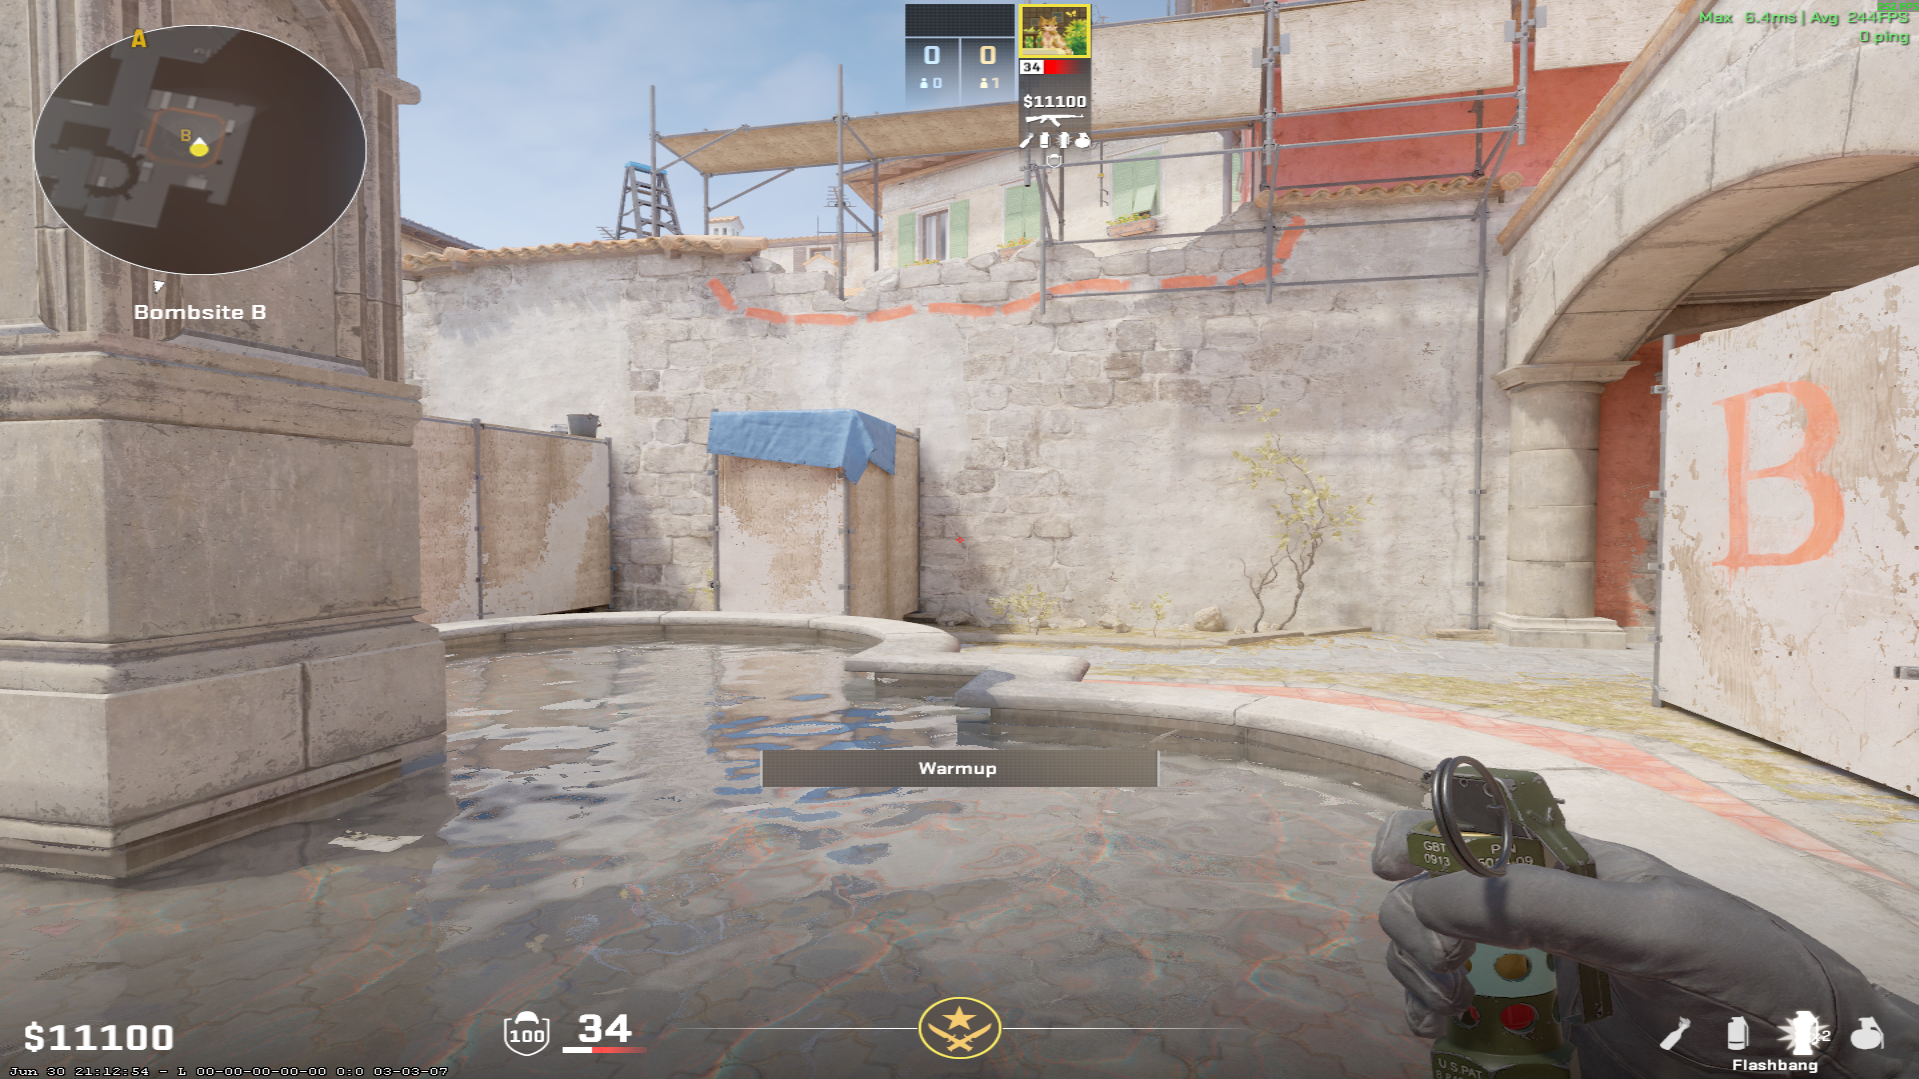
Inferno flash lineup Banana Pop Flash — throw 1, where to stand
Throw 1 — where to stand
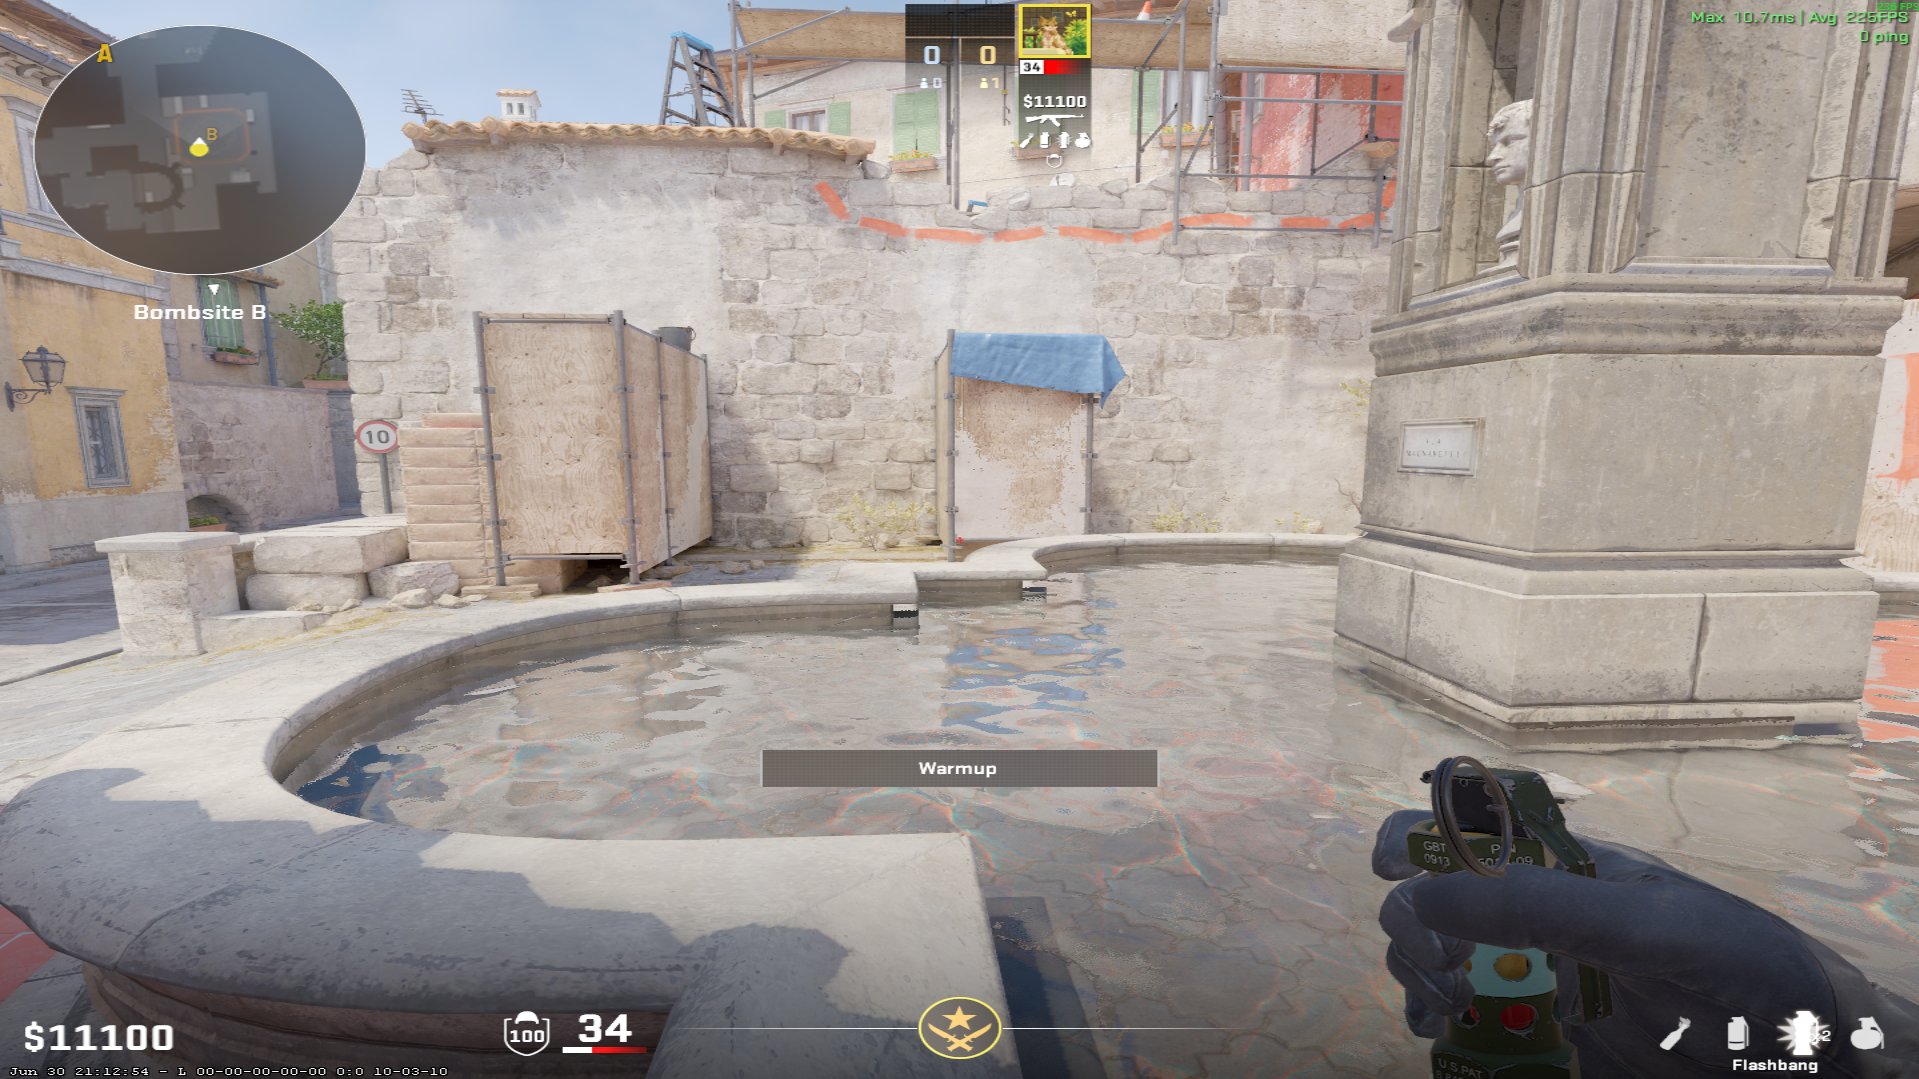
Inferno flash lineup Banana Pop Flash — throw 1, where to aim
Throw 1 — where to aim
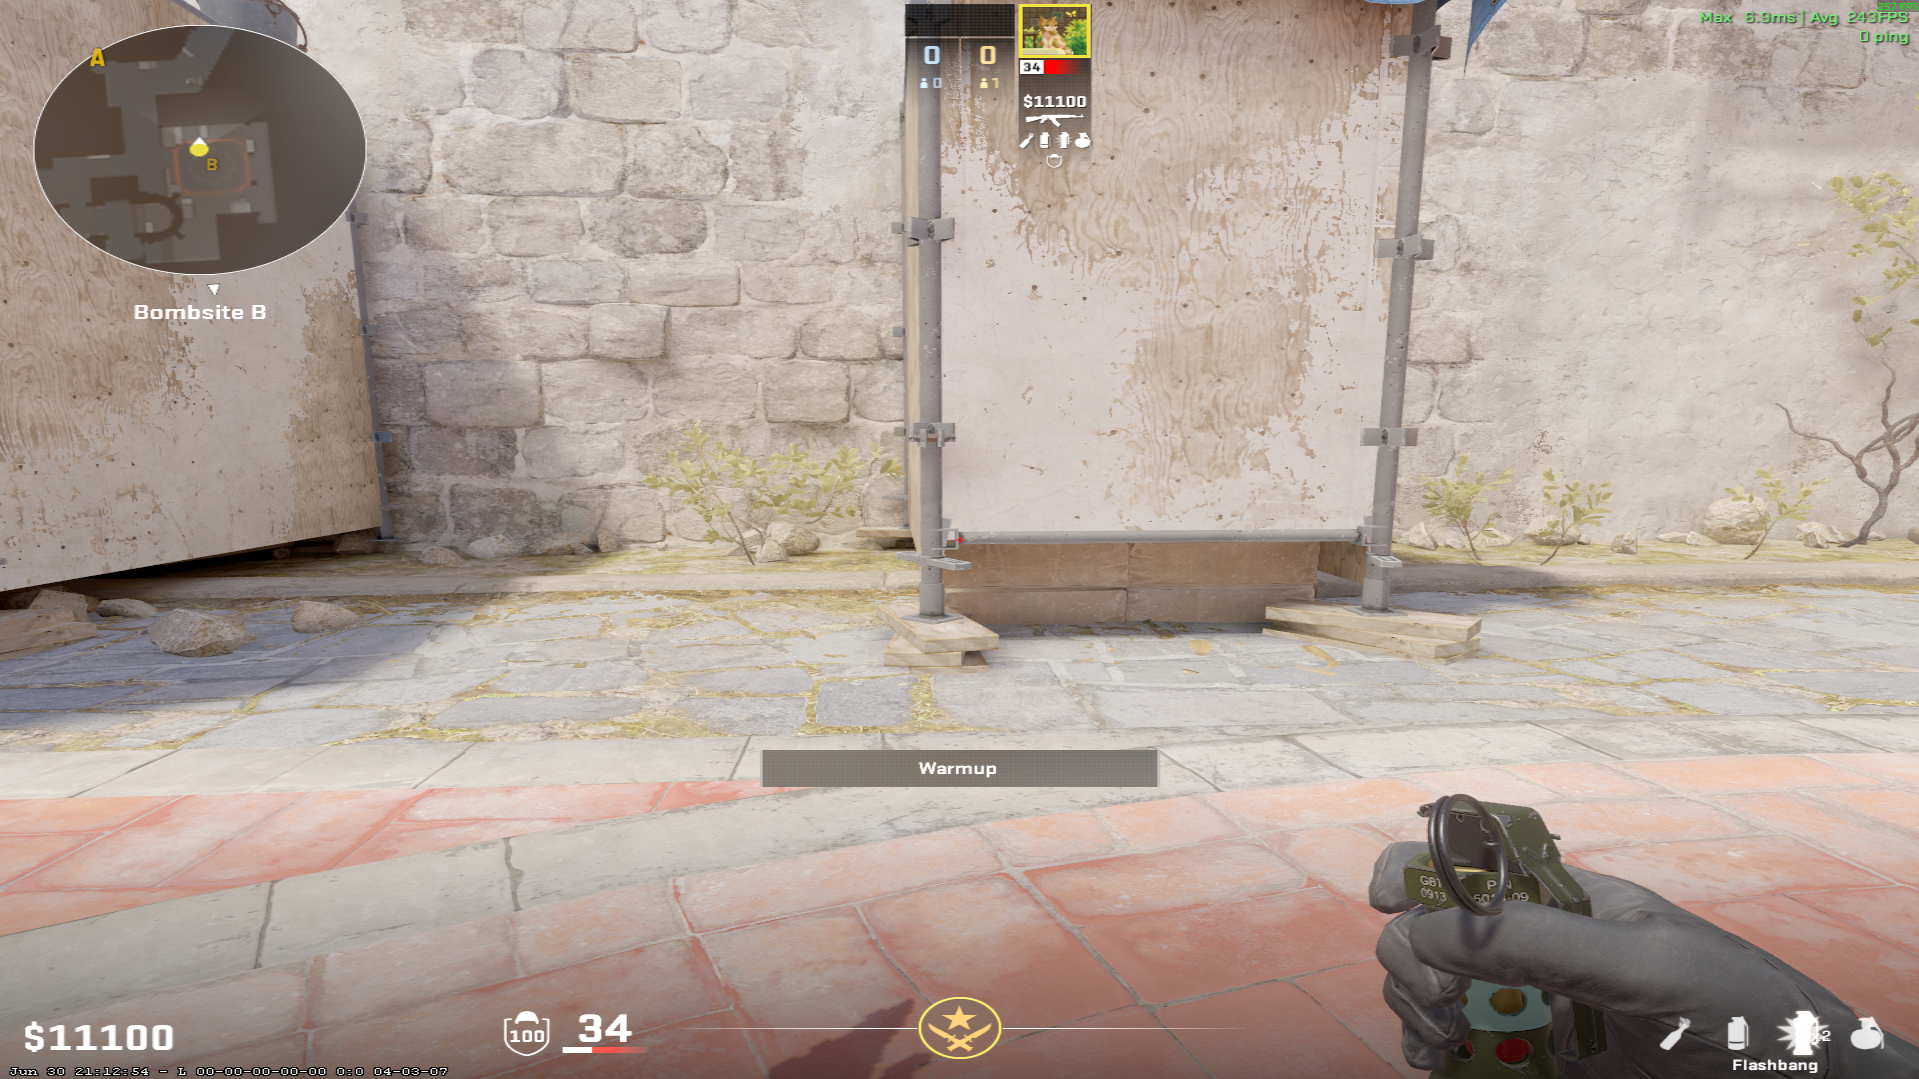
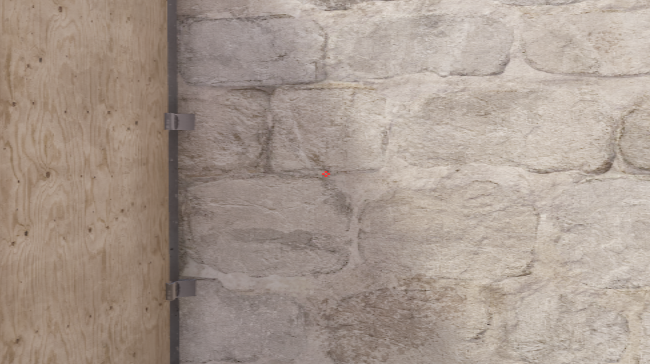
Inferno flash lineup Banana Pop Flash — throw 1, precise aim point
Throw 1 — precise aim point

Throw 2 of 3

  • Movement: Jumpthrow
  • Range: Mid-throw
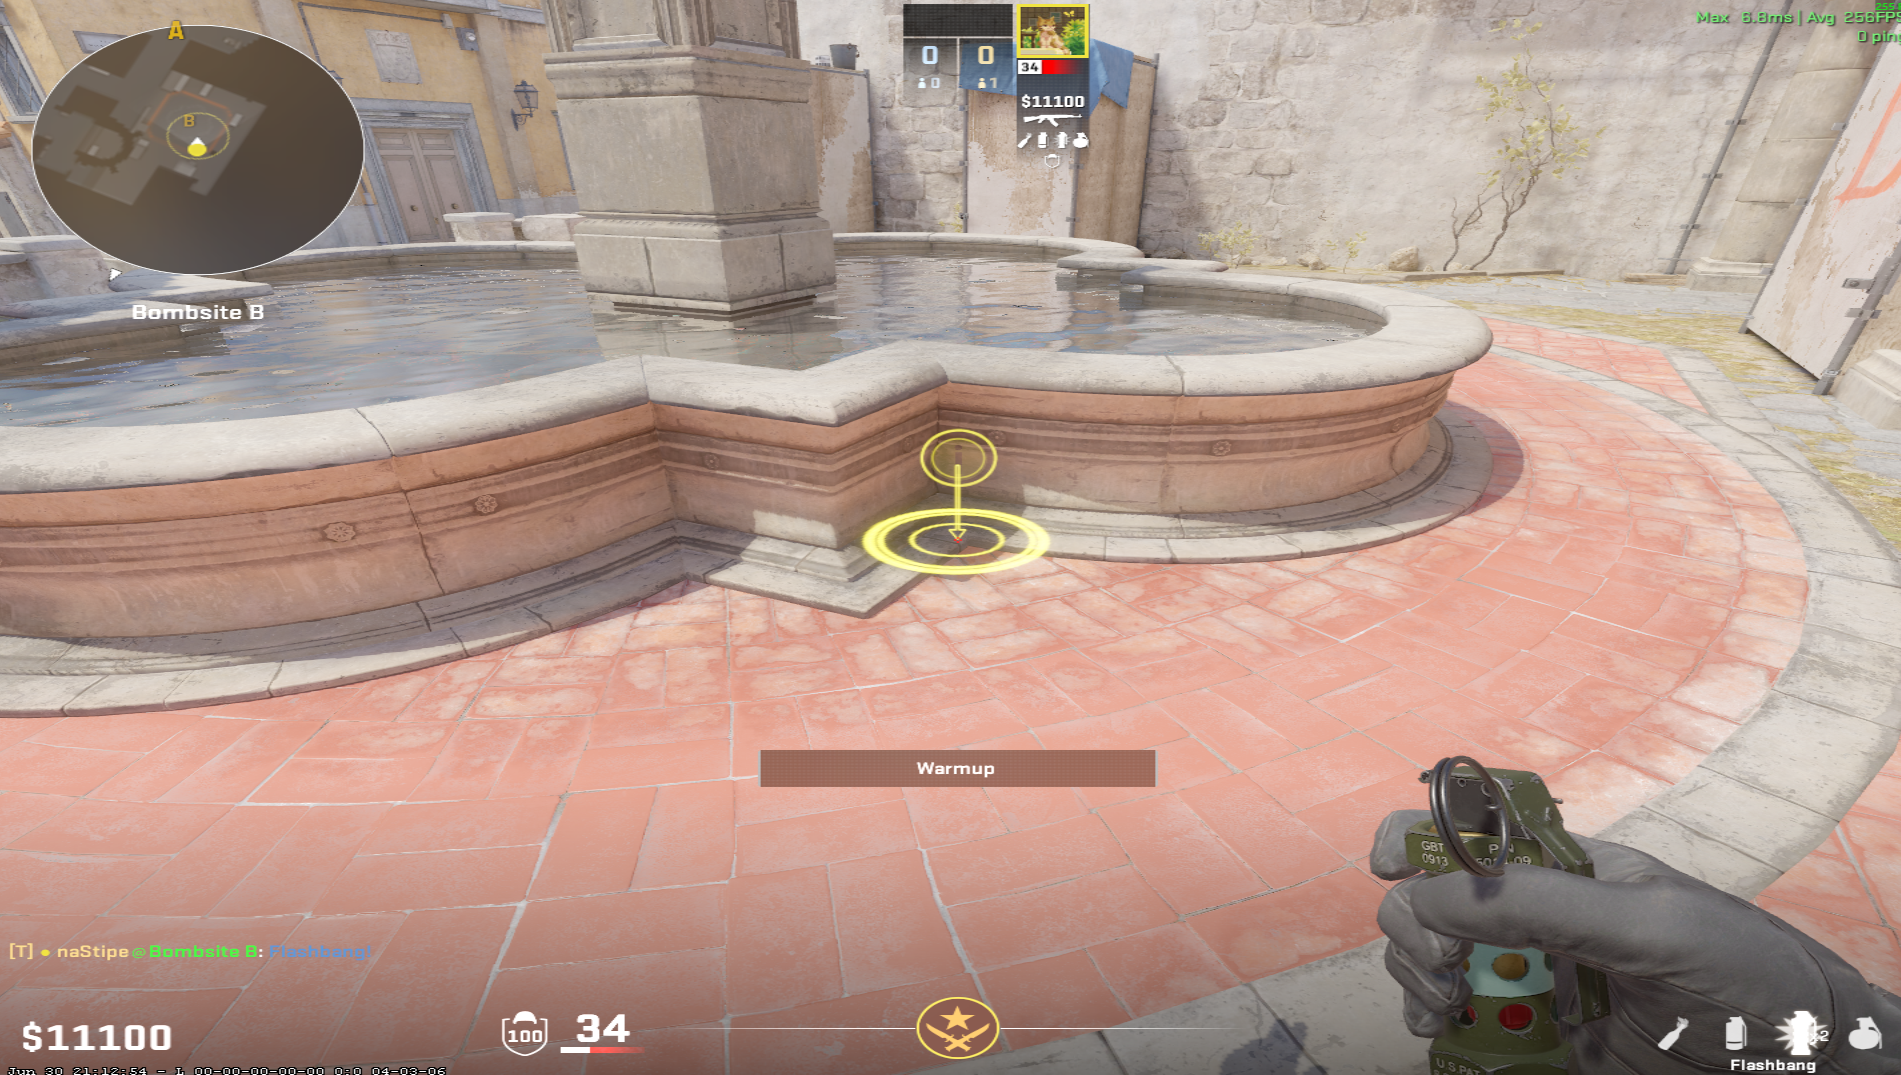
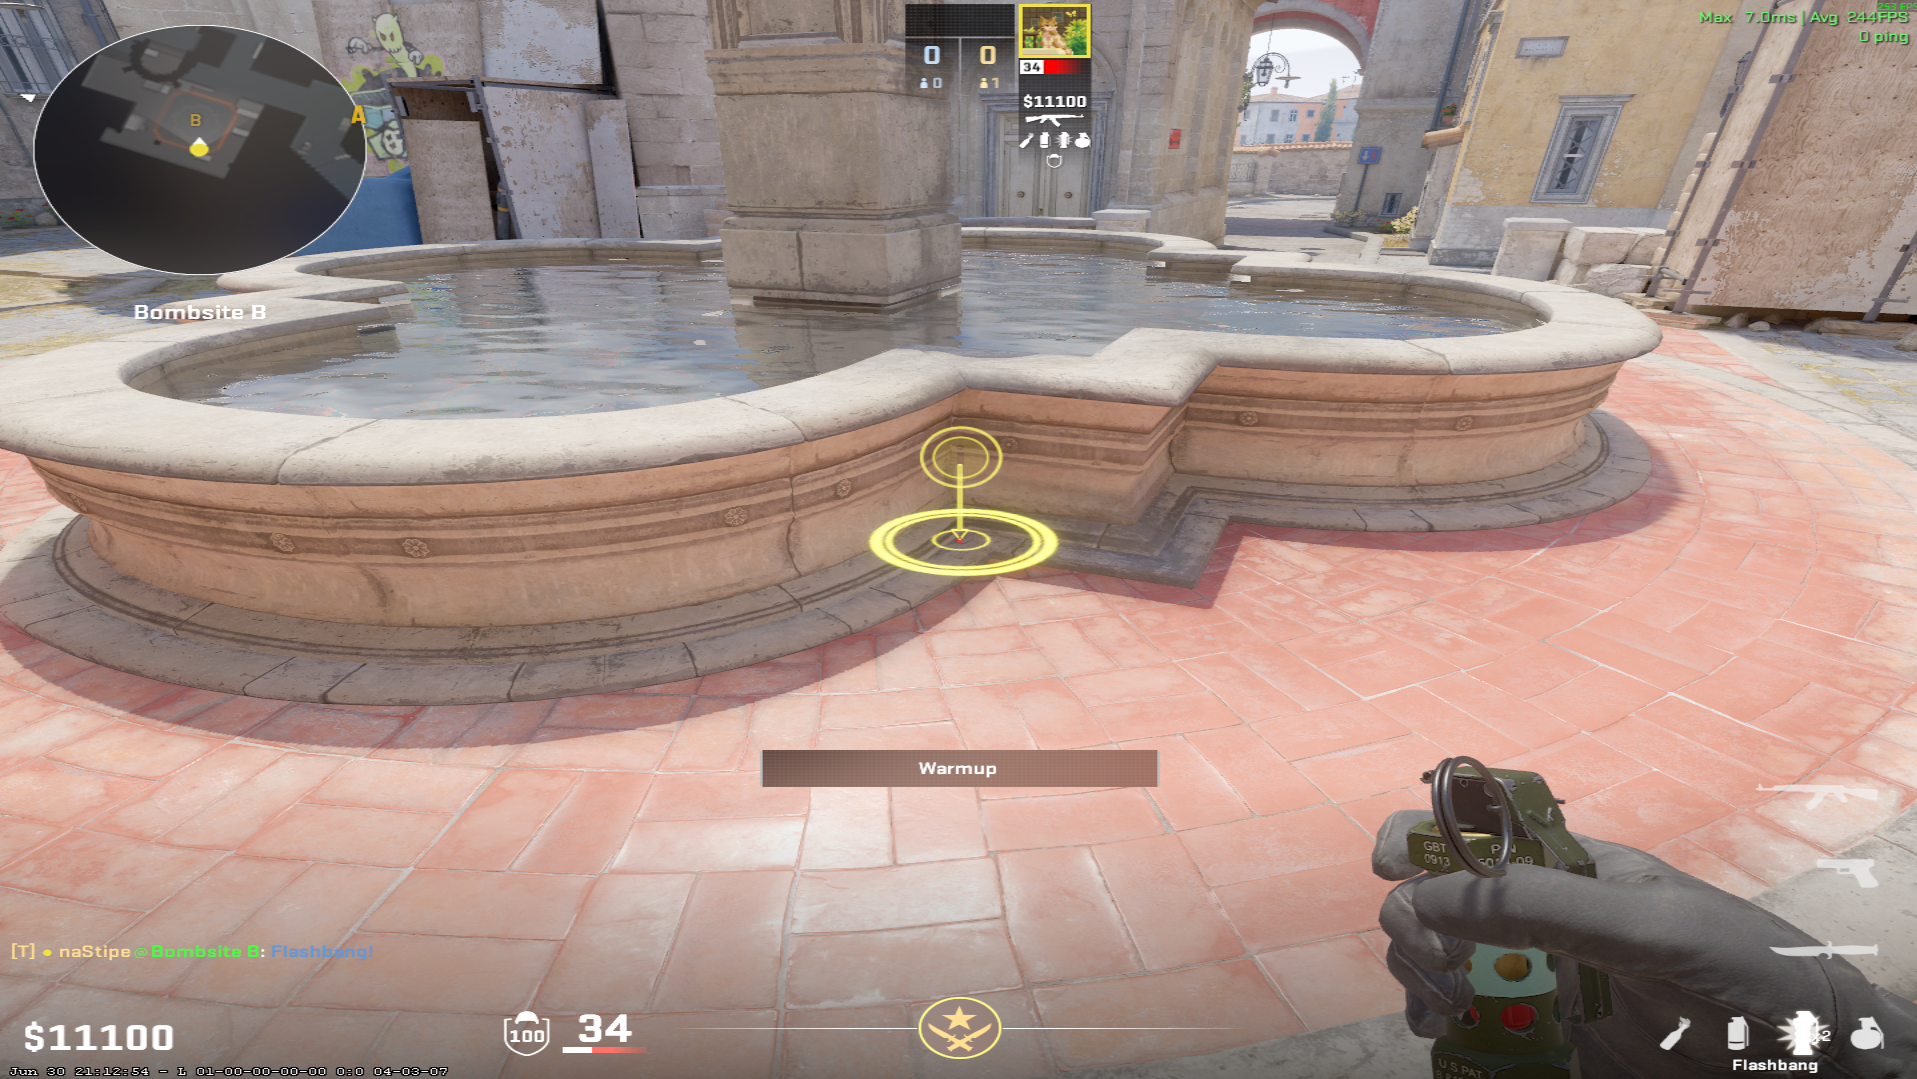
Inferno flash lineup Banana Pop Flash — throw 2, where to stand
Throw 2 — where to stand
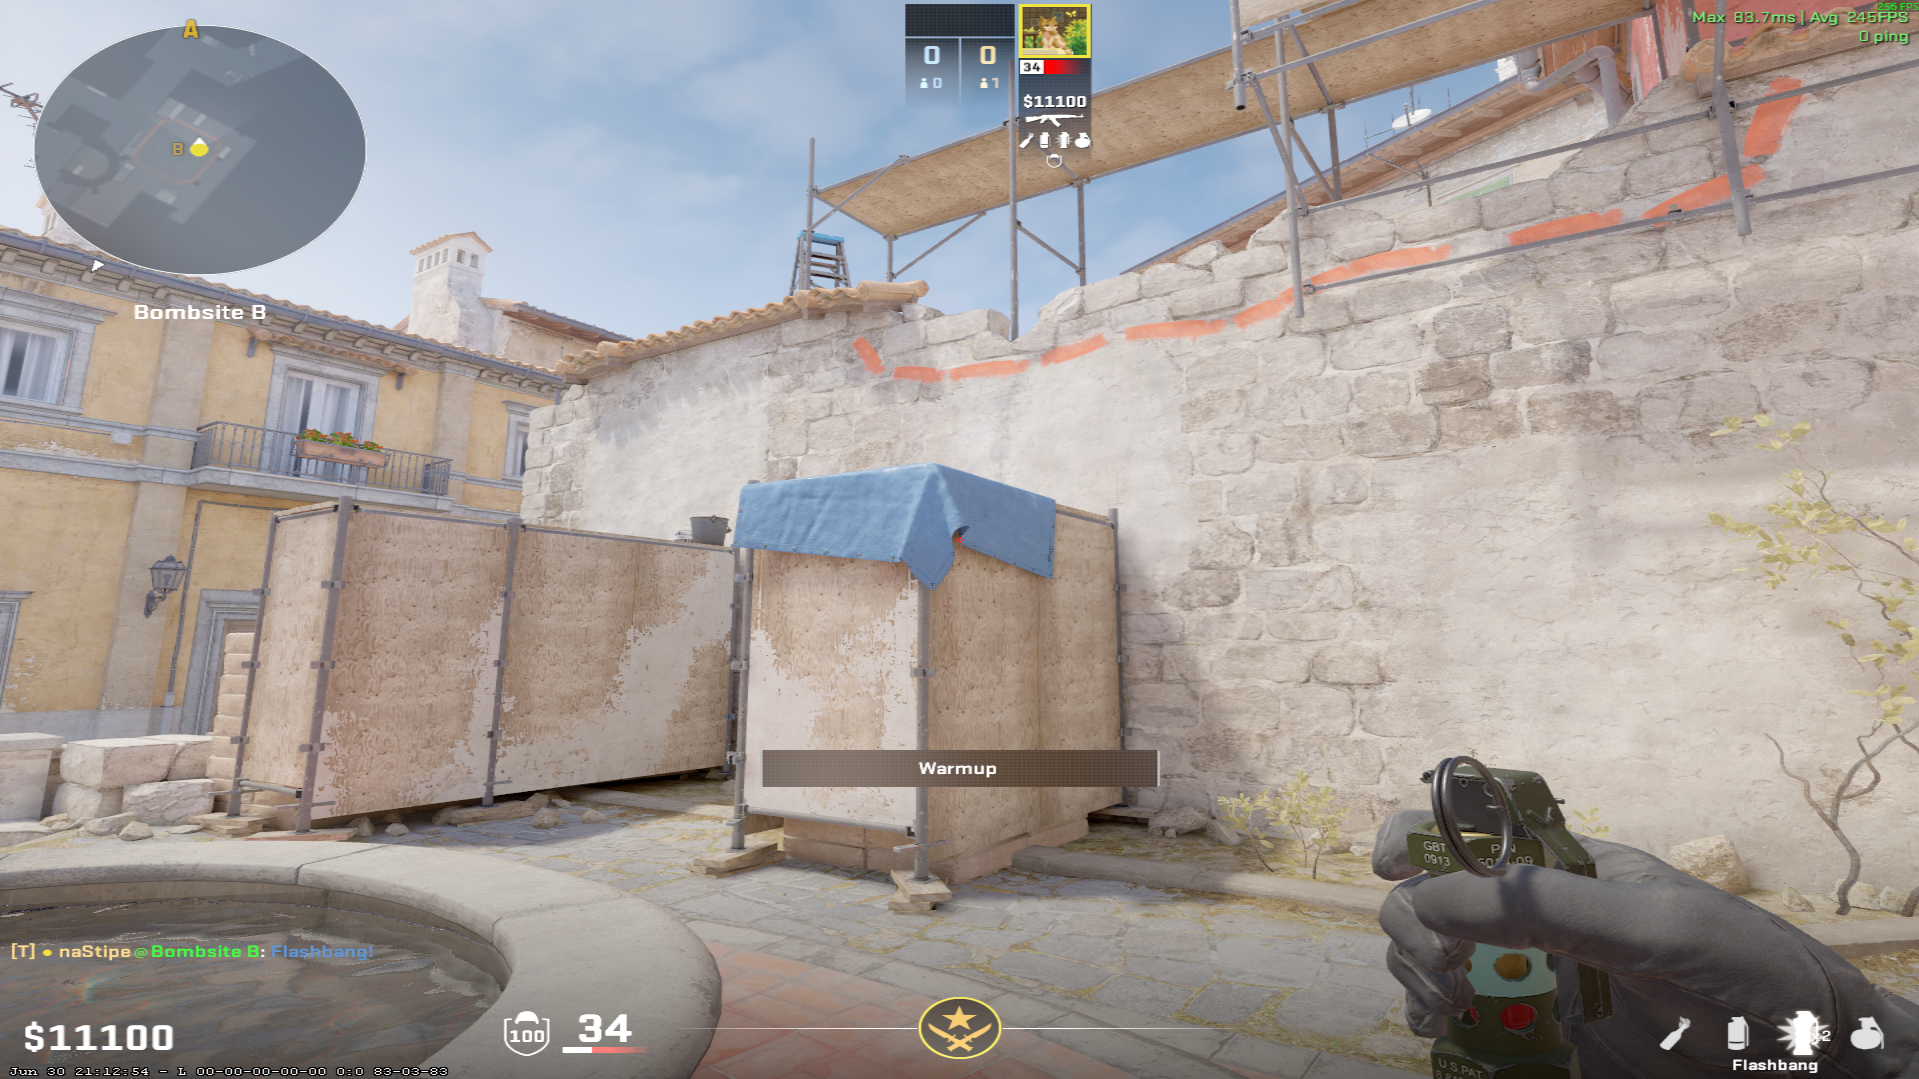
Inferno flash lineup Banana Pop Flash — throw 2, where to aim
Throw 2 — where to aim
Inferno flash lineup Banana Pop Flash — throw 2, precise aim point
Throw 2 — precise aim point

Throw 3 of 3

  • Movement: Jumpthrow
  • Range: Mid-throw
Inferno flash lineup Banana Pop Flash — throw 3, where to stand
Throw 3 — where to stand
Inferno flash lineup Banana Pop Flash — throw 3, where to aim
Throw 3 — where to aim

More Inferno lineups

Browse more

All Inferno lineups · All maps